

Instrument 3.1
Well it has been a crazy few months mostly full of failed experiments. However, I have learned a lot and look forward to the next batch of failures.
Testing.
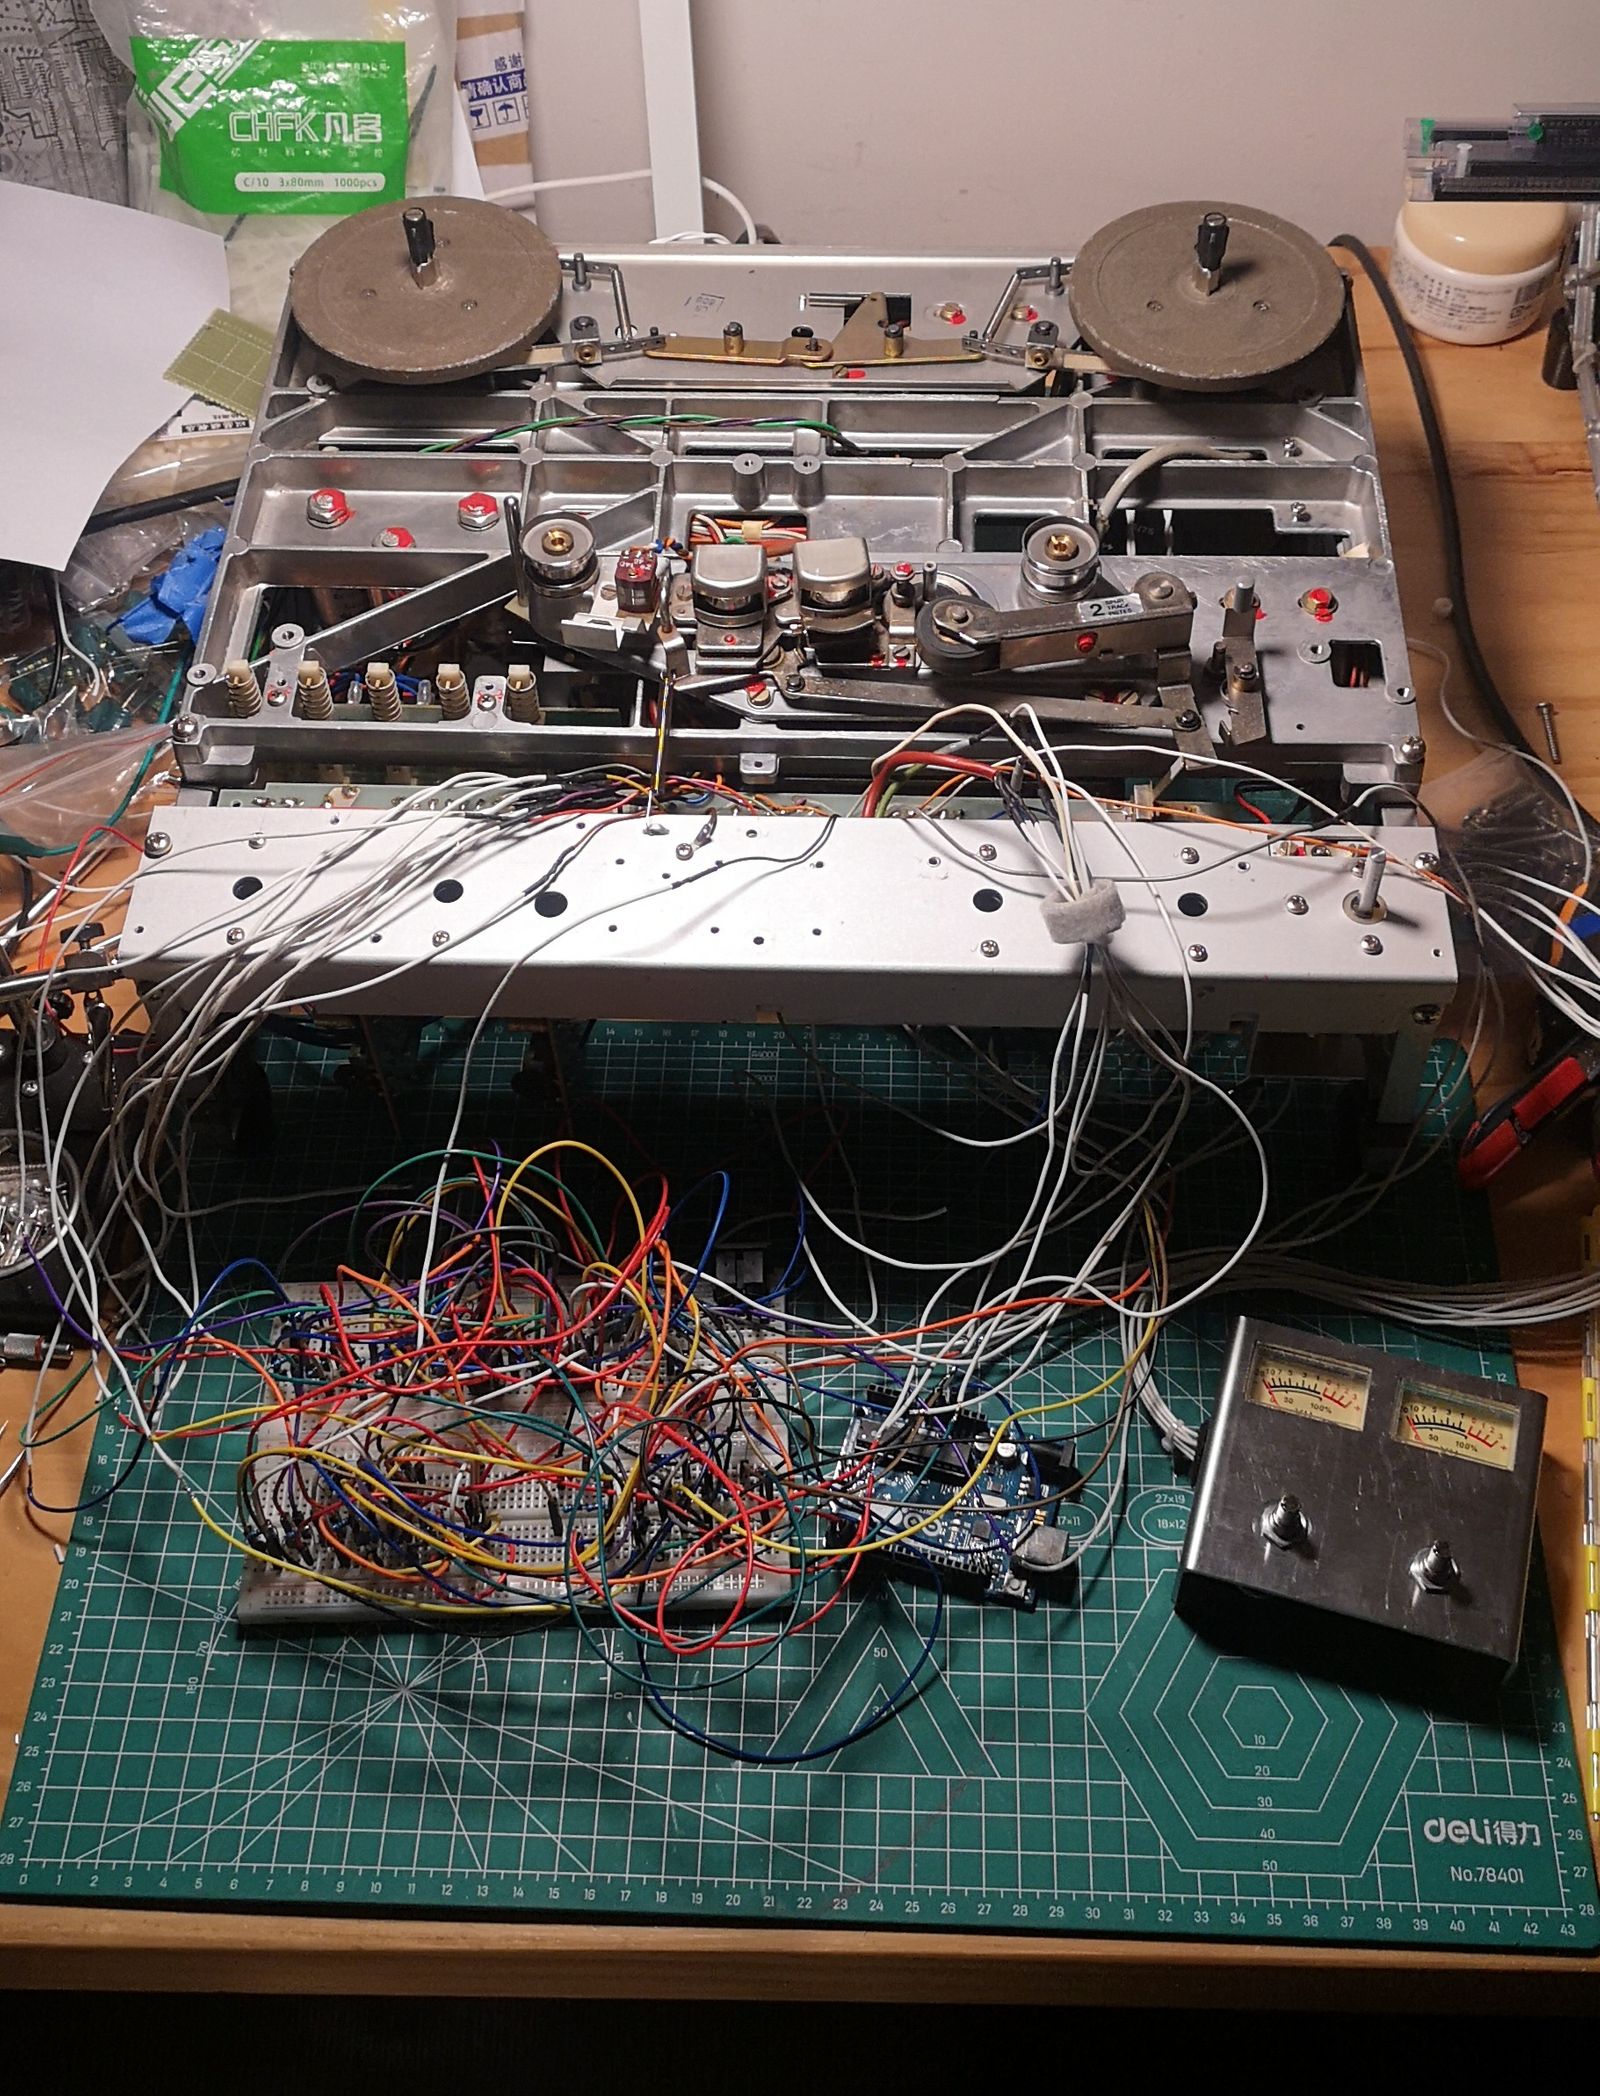
To continue the previous post, I completed the motherboard with prototype board then realized that a PCB would be best for accuracy and to reduce the amount of wires. In the end, I was able to jam all the wires in but found that there was some DC leaking into the audio signal, and I just couldn't, and at this point- didn't want to, figure it out.
What it could have been.
This made me step back a bit from the build and reassess what the next step should be. I decided that this project had gotten way too complex and that more than enough time was spent on it. I just wanted to go out and record again. So I put everything back to they way it was and started over with more attainable goals and all the things I have been putting off over the past year.
The main thing was to purge the units of any superfluous functions that the instrument would not need. Some of it had been done with the first unit and now the other 3 would all be the same.
Here is the list of modifications:
- Bypass the balance and output volume knobs;
- Bypass the onboard preamps (Abbey Road mod);
- Remove counter;
- Remove speaker switch and motor cutoff switches;
- General cleaning and maintenance;
- Build internal relay board in each unit;
- Replace power selector shaft with shorter one, replace knob;
- Replace and/or lubricate all bearings;
- Replace EOT sensors;
- Recap and replace potentiometers on all units;
Internal Arduino relay board
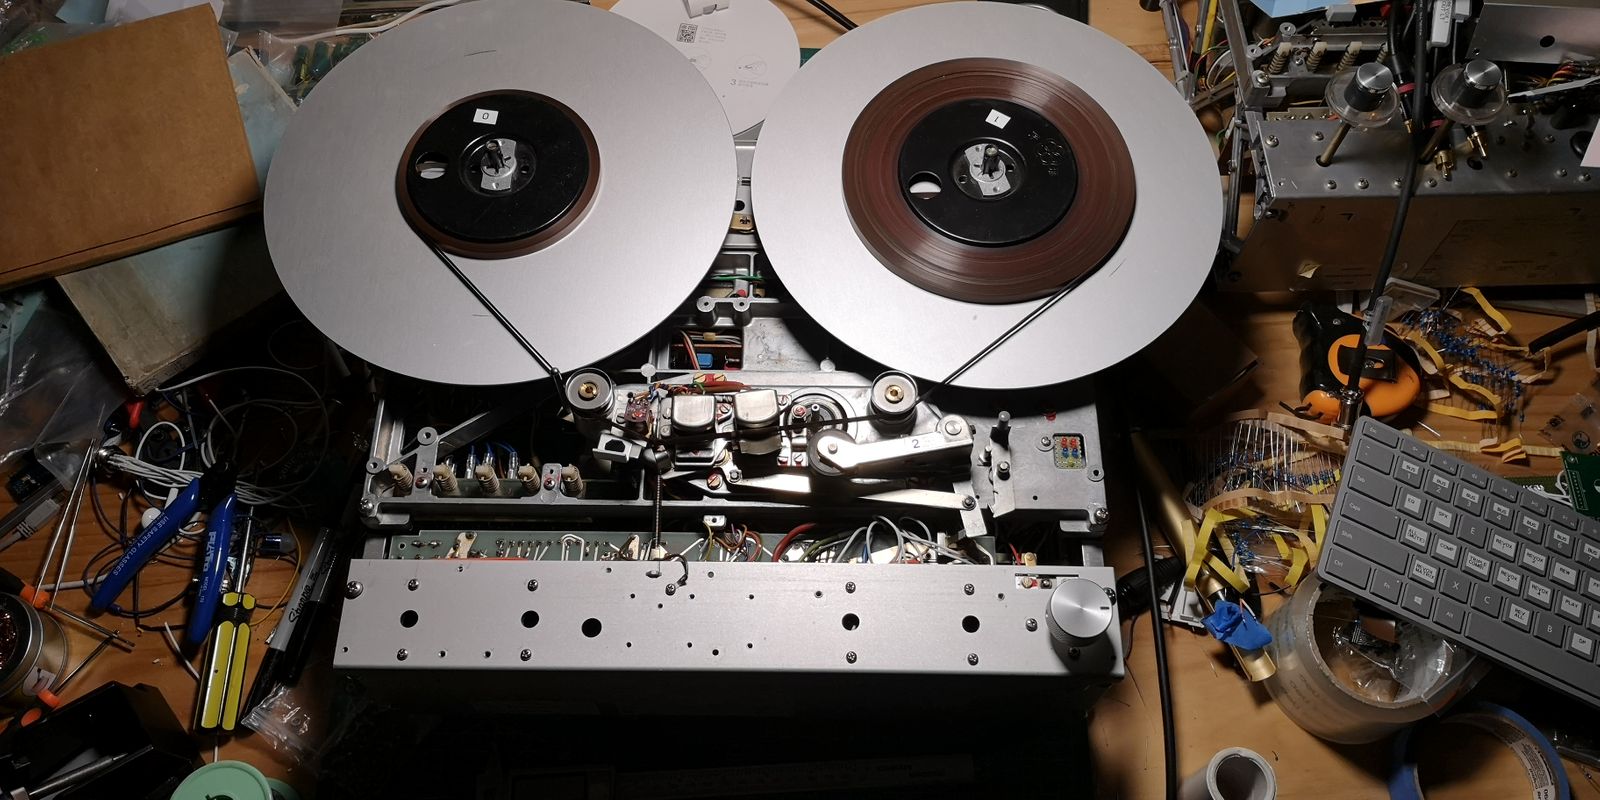
Building and rebuilding the relay board during my prototypes so many times, the only successful things that worked was the Arduino remote control. So after cleaning up my workspace, got right into making the new internal relay boards. This got me really excited because my previous rack mounted solution started to give me problems.
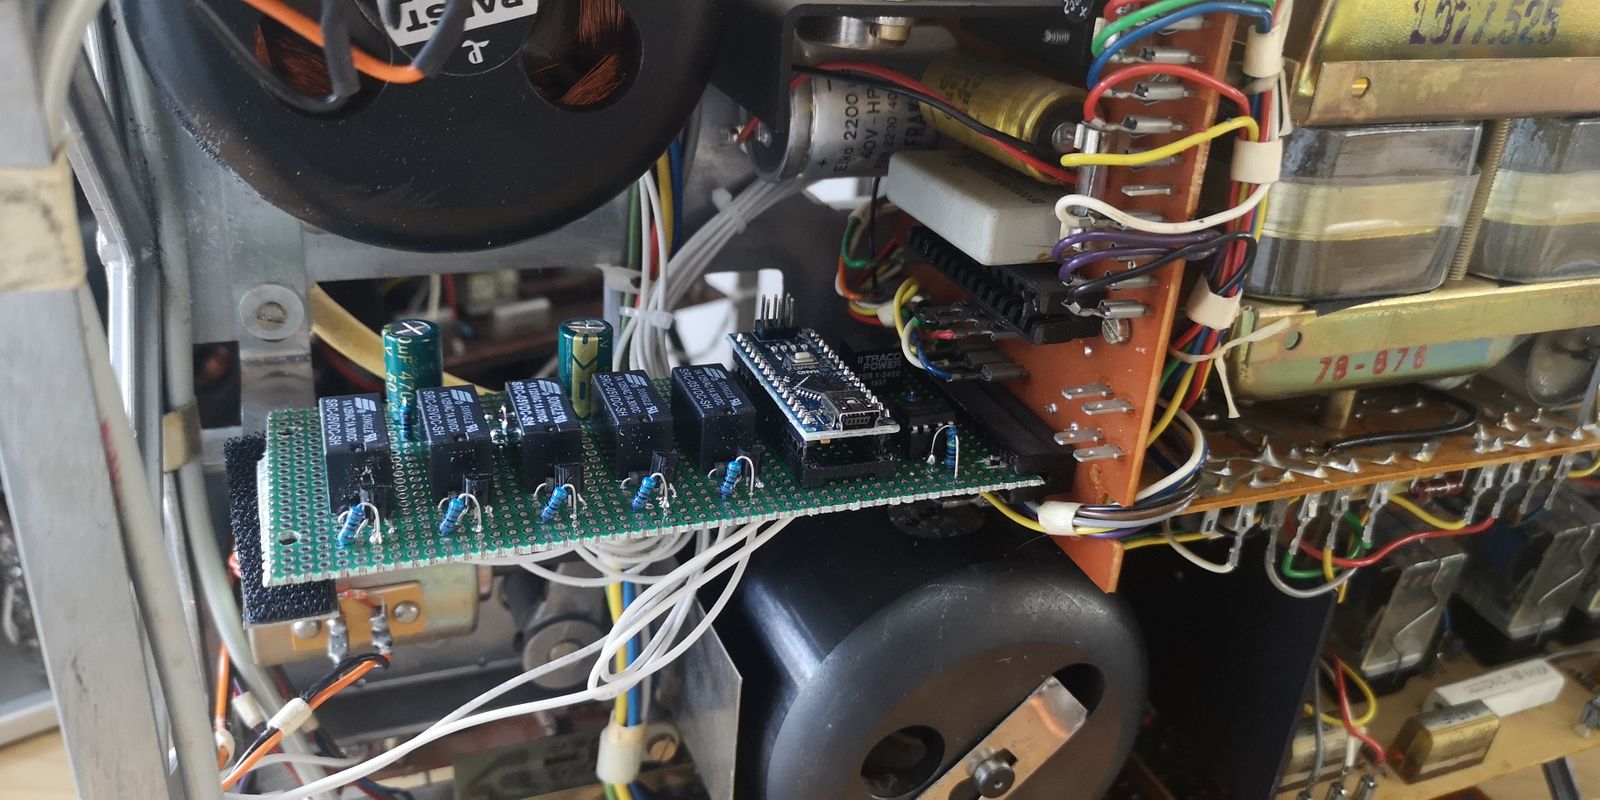
Installed relay board.
I wanted to do this ever since I got my first A77 and it's finally a reality! I rewired the 5 pin DIN connector that is already on the unit directly to the Arduino so I didn't need to install a new one.
Recap
I noticed that all the caps were original from the early 70s so I thought I would switch them all out while I had my soldering iron out. All caps used were mostly Panasonic FC and a Nichicon or two. The units should be good for another 50 years.
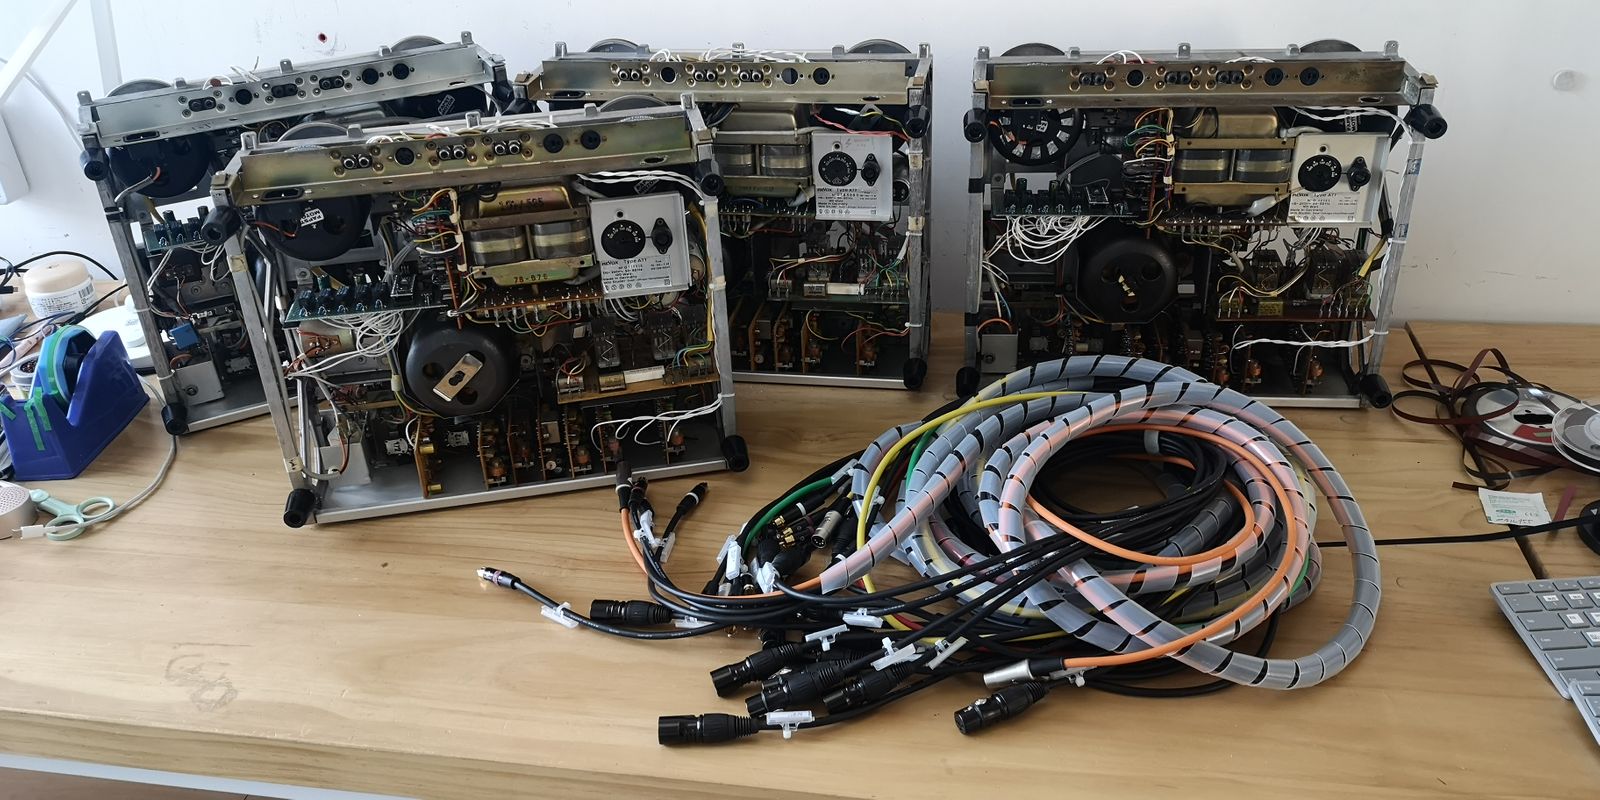
Relays and cables done.
Since all the caps were replaced, I need to do a full electrical calibration which is something I have been dreading since the beginning but it is a necessary step.
The Future
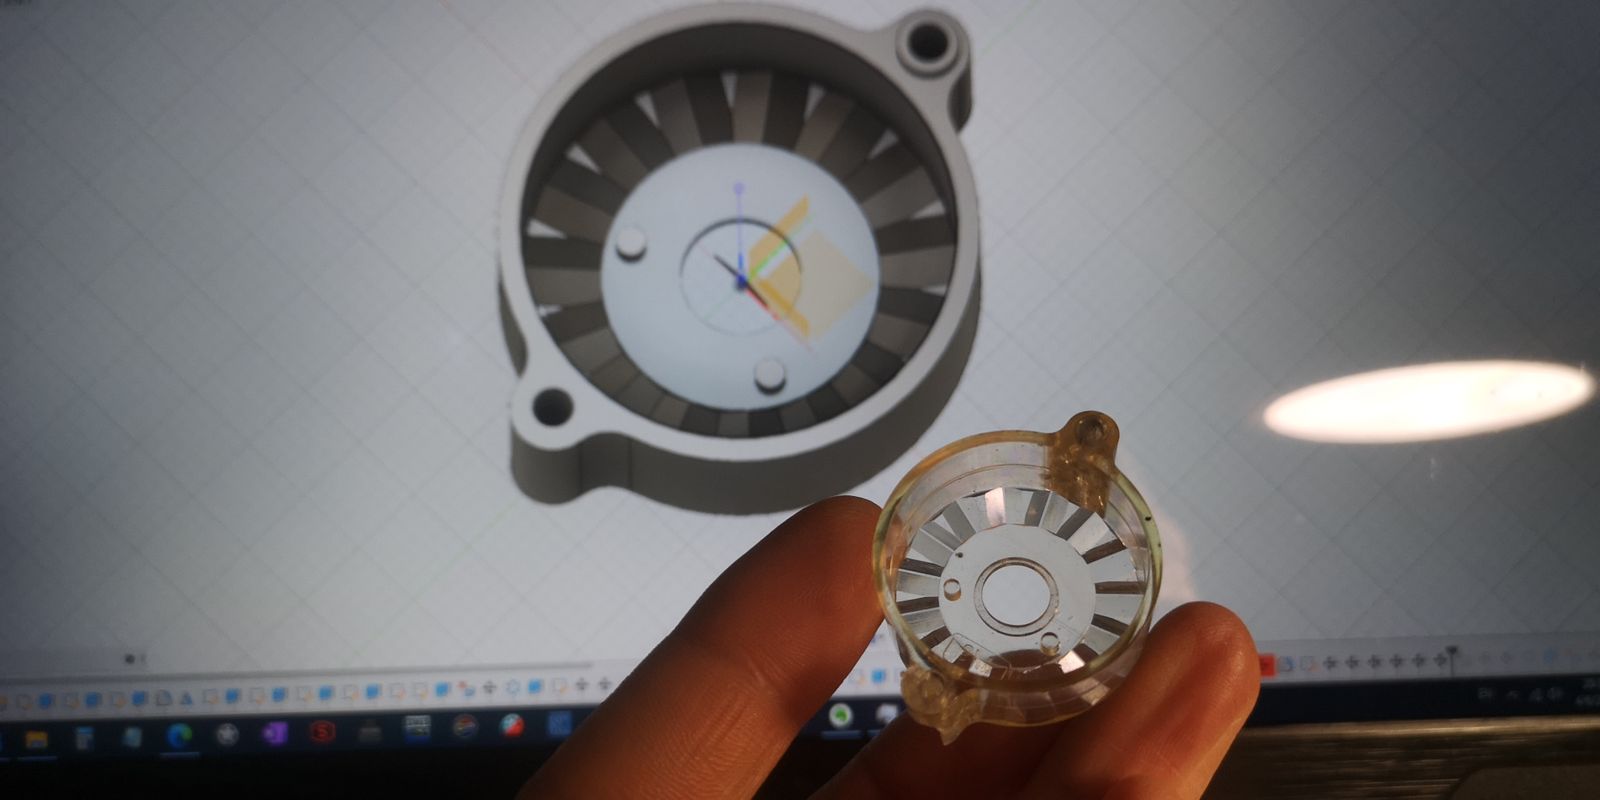
Plastic parts 3d print
During my disassembly, I found some things that could be replaced. Namely the selector switch housings. On the mark 2 and 3, they have really been destroyed so much that they are literally hanging by a few threads. This is probably mostly due in part of me taking apart the units so often. I am teaching myself Fusion360 and will get all of them 3d printed. I will post the files here as soon as I have made successful prototypes.
Another plastic part I want to model is the relay board front switch housing. The clear plastic on the bottom of the (relay board). The screw holes on some of my units are getting worn down and this needs to be replaced. I am sure I am not the only one out there with aging/ broken plastic parts and would be great to give back to the community that has helped me thus far. Once complete, you can have a friend or your local 3d printer make it for you.
Digital counter and automation
For my instrument I opted to take out the analog counter as it was inaccurate, more trouble than it is worth, and pretty useless for my purposes. Since I already had an Arduino in each unit, I thought I would make more use of it and add on a digital counter that I could program the beginning and end values of a tape so I wouldn't have to worry about a tape running out at either end. Much like a clear leader tape works, except digitally. So far I have made the counter work forwards and backwards, but the end of tape automation (stop then rewind back to the beginning) is giving me problems and I am working on a solution at the moment. If any one has successfully done this I would love to speak with you!
Follow along with the progress on the Arduino Forums.
Instructional videos
I thought that maybe I could share some of my knowledge of what I have learned over the past few years with modifying my units.
New Compositions
Finally, the main reason why I am doing these mods and upgrades is to make some compositions with this instrument. In the coming months, new compositions should be coming out on a regular basis.
So while the initial effort was not completed, I am now to a point where I feel I am much closer to finishing the instrument. I am looking forward to sharing some new compositions and recordings with you in the future.